Having trouble with error 9 on your Shark Robot Vacuum? No worries, I’ve got the solution for you!
Every robot vacuum owner faces problems now and then. It’s totally normal and nothing to worry about. The good news is, most problems with your Shark robot vacuum can be easily fixed with simple solutions.
That goes for the Shark robot vacuum error 9 too – just one of the error codes Shark robots might show. In fact, I’ve got methods that worked for me, and they’ll work for you too.
Every error code your Shark Vacuum Cleaner shows actually makes sense – there’s a reason behind it. It could be related to the battery, some of the cleaning parts, or sometimes even how the robot is stored.
In this article, we’re going to figure out what’s going on and how to fix error 9 on your Shark vacuum.
What is Error Number 9 on Shark Robot Vacuum?
Shark Robot vacuum error 9 indicates that the bumper is stuck and it is not moving freely. This stops the vacuum from cleaning properly, missing some spots.
You may see an error code on your robot vacuum if you have a hardware or software problem. This particular error has to do with a hardware problem – the bumper isn’t working properly.
Well. No worries. Let’s go to the methods to fix shark robot vacuum error number 9.
How to Fix Shark Robot Vacuum Error 9 Dust Bin?
Tap the Bumper a Few Times
Keep in mind, error 9 comes from a mechanical hiccup in your Shark Robot. Specifically, this error pops up when your Shark’s bumper can’t move around easily due to some blockage.
Here’s the quick and simple fix: Flip your robot upside down and gently shake that bumper a few times. Press the “CLEAN” button once you’re done.
It will be obvious if the bumper was stuck if you see a bunch of debris falling out when you give it a jiggle and a shake. You can also manually check if the bumper moves smoothly – just give it a little nudge.
Remember, the bumper should always move smoothly around the robot in a circular motion. This helps avoid any future hiccups.
Power Cycle the Robot
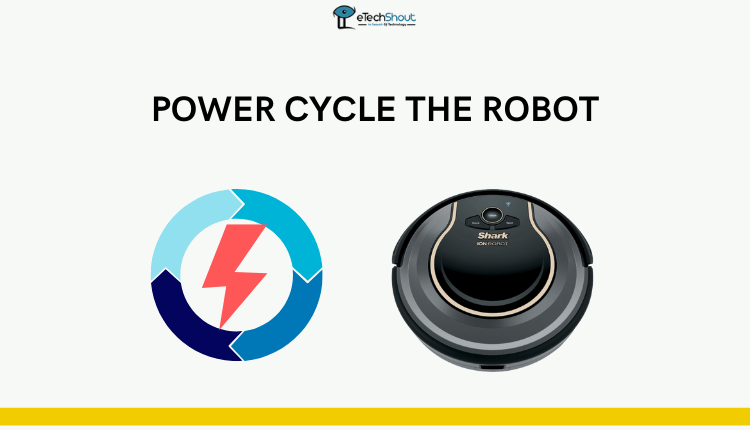
Here’s how it works: Turn your robot off completely and disconnect it from any power source. This helps to reset its software by draining any remaining electricity.
Although error 9 relates to the mechanics of the robot, discharging it might just do the trick.
Here’s how to power cycle your Shark Robot:
- Flip your Shark Robot upside down.
- Find the Power Switch.
- Hold down the Power Switch for about 2-3 seconds.
- Wait until the robot completely shuts down.
- Wait patiently for at least 60 seconds.
- Now, connect the robot to either a Charging Base or a Charger.
- Charge your robot for about 3-5 minutes.
- After that, unplug it and check it.
I have another tip: If you keep the robot turned off for a bit longer during this process, it usually gives the power cycle an extra boost.
Clean the Dust Bin
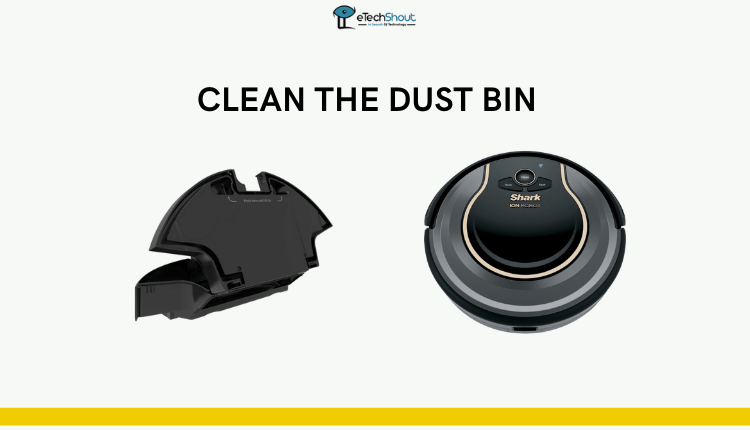 Another thing to try is emptying out the dustbin. Sometimes, error 9 might be connected to issues with the dust bin in your Shark Robot.
There is a possibility that the dust bin has filled up and is causing problems like it being collected in the charging base of the Shark Robot. Many users have found that after emptying the dust bin, the robot works without errors. Give it a try!
Here’s how to empty a dustbin quickly and easily:
- Allow the robot to return to the Charging Station.
- Push the “CLEAN” Button on the robot. This will empty out all the dust.
- Take the Removable Dust Bin from the charging station and empty it.
- Lift the robot off the charging station.
- Now, try using the robot again.
Typically, once the robot has finished cleaning your home, it heads back to the charging station to empty itself.
However, if something blocks the robot from getting to the charging station, it won’t be able to empty the dust bin, and that can lead to errors showing up.
Remove the Obstacles
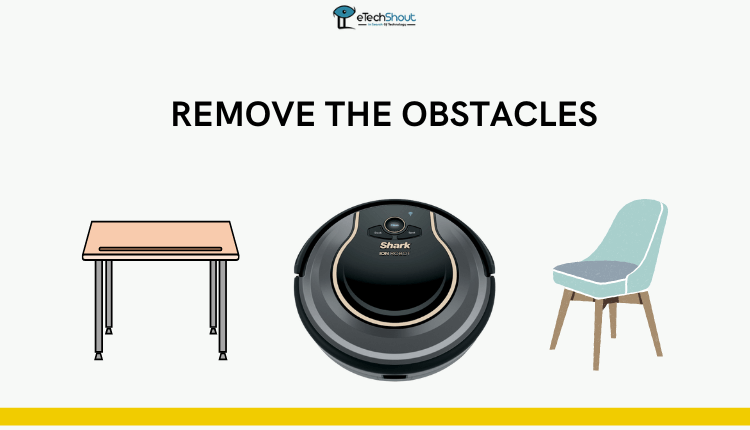 There are times when your Shark robot vacuum malfunctions even if you’ve cleared its dustbin, that error 9 keeps popping up. If that happens, it’s a good idea to check for anything that might be blocking its brushes from moving freely.
Observe the area for obstacles of all sizes and remove them. The first thing to do is to move any large items that might be causing the problem, such as desks or chairs. If there is any hair or dirt stuck in the vacuum, turn it over and clean it out. If there is anything caught in your Shark robot vacuum, you can also remove the front wheel.
Check and Clean the Sensors
 We need to pay attention to the sensors. Shark robot vacuums need these parts in order to function properly, especially when there is an error 9.
Depending on which model you have, you can find these sensors by checking your user manual. They usually hang around the charging dock and the robot itself.
Before you start cleaning, make sure your Shark robot vacuum is turned off. Also, you should take your time while cleaning. Use a cotton swab or a soft cloth and gently wipe those sensors clean. It’s a small step that could make a big difference.
Clean the Filter
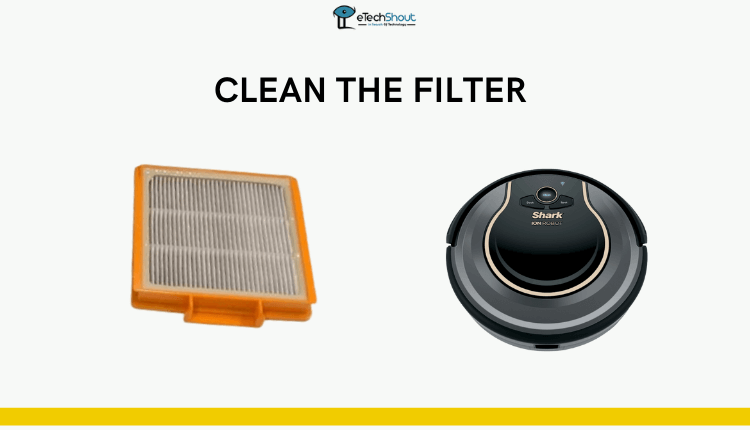 Ensure that your filter is clean. If your Shark robot vacuum is displaying error 9, the filter could be the problem.
Here’s what to do:
- Turn off the robot vacuum and flip it over.
- Take out the filter compartment from the bottom.
- Check if there’s any debris, hair, or stuff in there – that’s what might be causing the trouble. If there’s stuff stuck, it could be why you’re seeing error 9.
- Take a soft brush or just use your hand to gently clean this filter area.
- Once it’s all clean, put the filter compartment back where it belongs.
- Turn on the robot vacuum and press the Clean button.
Try Changing the Cleaning Schedule
If your Shark Cleaning Vacuum is having trouble following its cleaning schedule due to bumper issues, consider changing things up.
You can try altering the robot’s route and its location. Make sure it avoids any obstacles that might disrupt cleaning or set off the Cliff Sensors.
Just for testing, create a path that is clear and obstacles-free. This will help you determine if the robot can start without showing error 9.
Here’s what to do:
- Open the Shark Clean app (Android/iOS)
- Then click “Schedules.“
- Create a new cleaning path.
- After setting up the new path, make sure you choose it as the current one. If you don’t, the robot will stick to the old schedule.
- Now check to see if error 9 is resolved.
Keep in mind: If the robot works well with the new path, you can switch back to the old schedule, but make sure it’s set up safely.
Reset
 If shark robot vacuum error 9 keeps showing up on your machine, try resetting it. Sometimes, devices can get a bit weird due to extra data hanging around. There is a possibility of this being resolved by resetting.
I wouldn’t really recommend resetting your robot vacuum unless you’ve got no other choice. When you do a reset, the device is restored to its original state. That means all the settings you’ve saved will disappear, and you’ll have to set up everything again.
Still, if you’re willing to try it, giving the reset a shot won’t cause any harm. Usually, you can reset most of the Shark robot vacuum models by following these steps:
- Switch off the power.
- Hold down the Dock and Max buttons simultaneously for a few seconds. Keep holding until the robot makes a beep sound.
- Release the buttons and allow the robot to restart.
- When the robot starts up again, it should be all reset to its original settings.
- If you prefer, you can also use the app to reset the Shark robot vacuum. After you’ve reset it, you’ll need to set it up again from scratch.
Alternatively, you can do a factory reset on your Shark robot vacuum using the Shark Clean app on your phone:
- Open the Shark Clean app (Android/iOS) on your smartphone.
- Go to the Settings section.
- Look for “Factory Reset.“
- Tap “Select.“
- Confirm your choice by pressing “Confirm.“
- Now, wait for a bit. Your robot will go into a Factory Reset mode, and this process usually takes around 3 to 5 minutes.
Note: While it’s resetting, don’t touch the device. This way, you won’t accidentally cancel the reset.
Contact the Shark Support
 Most issues on the Shark Robot Vacuum can be fixed through troubleshooting and proper care. But sometimes, it’s best to connect with Shark customer service for help.
If you’ve tried all the recommended solutions for shark robot vacuum error 9 and it’s still there, contact Shark customer service. They can guide you through more solutions or decide if your vacuum needs repair or replacement.
Moreover, if you suspect your vacuum has a problem that can’t be fixed, contact customer service. They’ll help if your product is under warranty and advise on the next steps.
For Robot specific support, call 1-888-228-5531, follow the prompts to select the appropriate option for product support, provide your information and the issue you’re facing, and patiently wait for a representative.
Make sure you have your order details and product information available when you contact Shark customer service. Shark’s customer support is available on weekdays and weekends, so you can get assistance whenever you need it.
So, there you go! With these troubleshooting steps, you’ve got easy ways to solve that annoying error 9 on your Shark Robot Vacuum. Remember, robots can sometimes be finicky, but with a bit of patience and these tricks, you’ll have your cleaning buddy back on track in no time.


