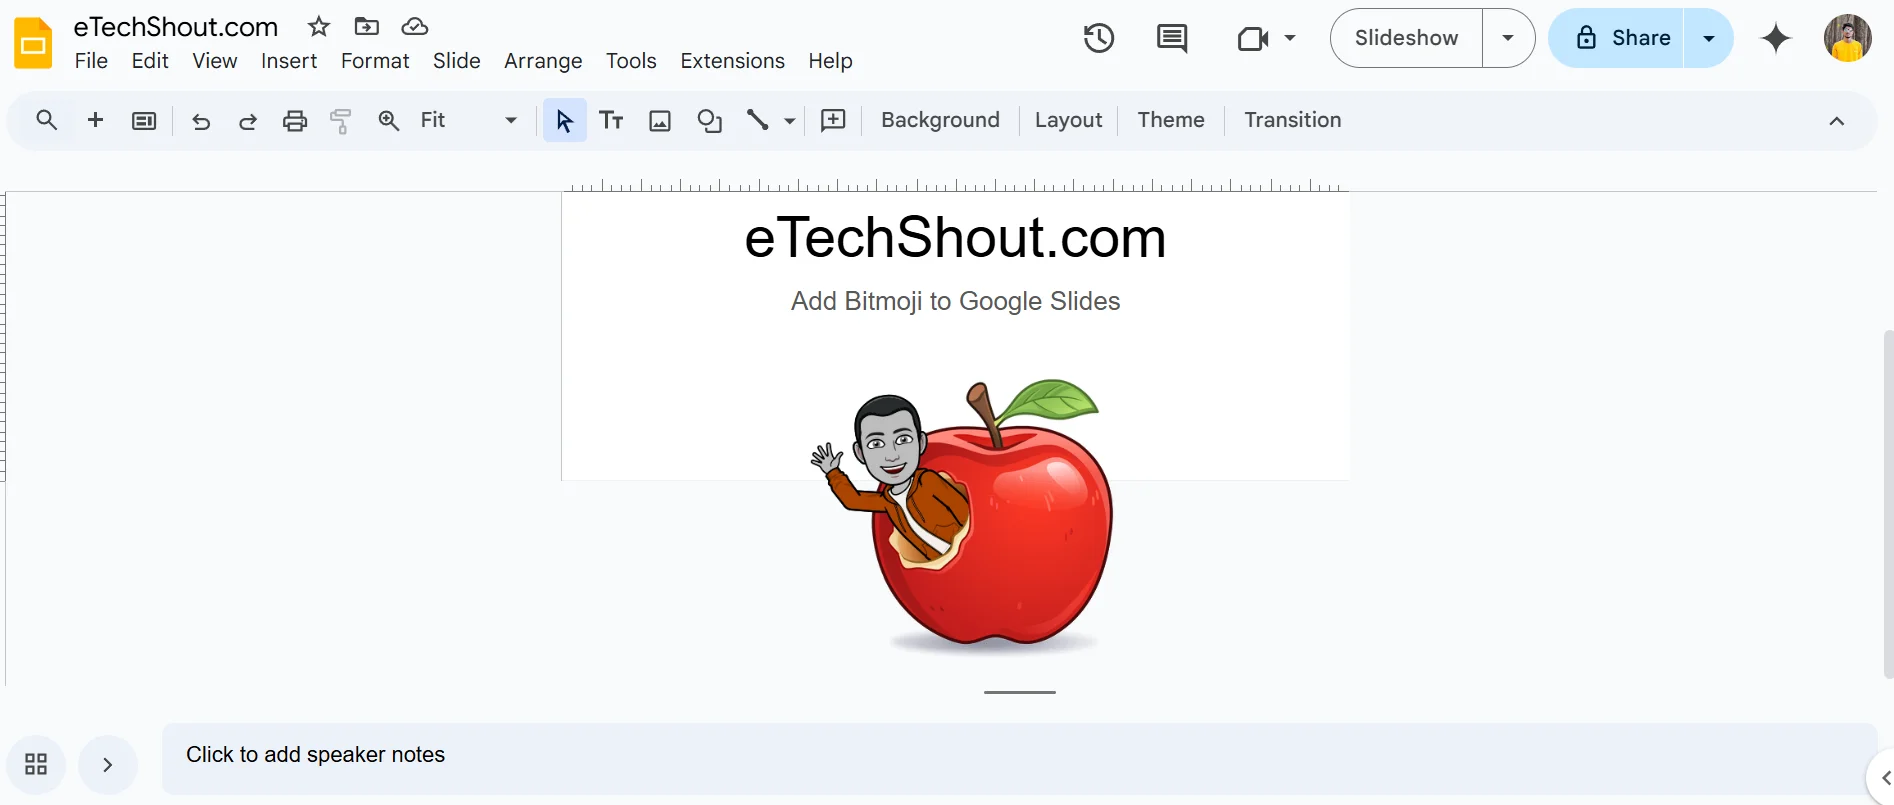
If you’re looking to make your Google Slides presentations more lively and eye-catching, adding Bitmoji could be the perfect way to do it. Bitmoji are fun, customizable cartoon avatars that you can create to look just like you, complete with different outfits, expressions, and accessories. Adding a Bitmoji to your slides is a great way to bring personality, humor, and a personal touch to your presentations, be it for school, work, or just for fun.
In this article, we’ll guide you through the simple process of adding Bitmoji to your Google Slides. We’ll cover everything in step-by-step from setting up your Bitmoji account and creating your personalized avatar to embedding it in your slides.
How to Add Bitmoji to Google Slides on PC
Bitmoji is a fun, personalized emoji tool that lets you create expressive avatars to share in your conversations. It’s become a popular way to add personality and convey emotions.
You can also enhance your Google Slides presentations by integrating Bitmoji. Before you can do that, you’ll need to add the Bitmoji Chrome extension. This extension works even on other Chromium-based browsers, like Microsoft Edge, Opera, Vivaldi, and Brave.
Installing the Bitmoji Chrome Extension
- Open your preferred web browser based on Chromium.
- Now, go to the Google Chrome Web Store by typing “Chrome web store” in the search bar or navigating directly to the store’s website.
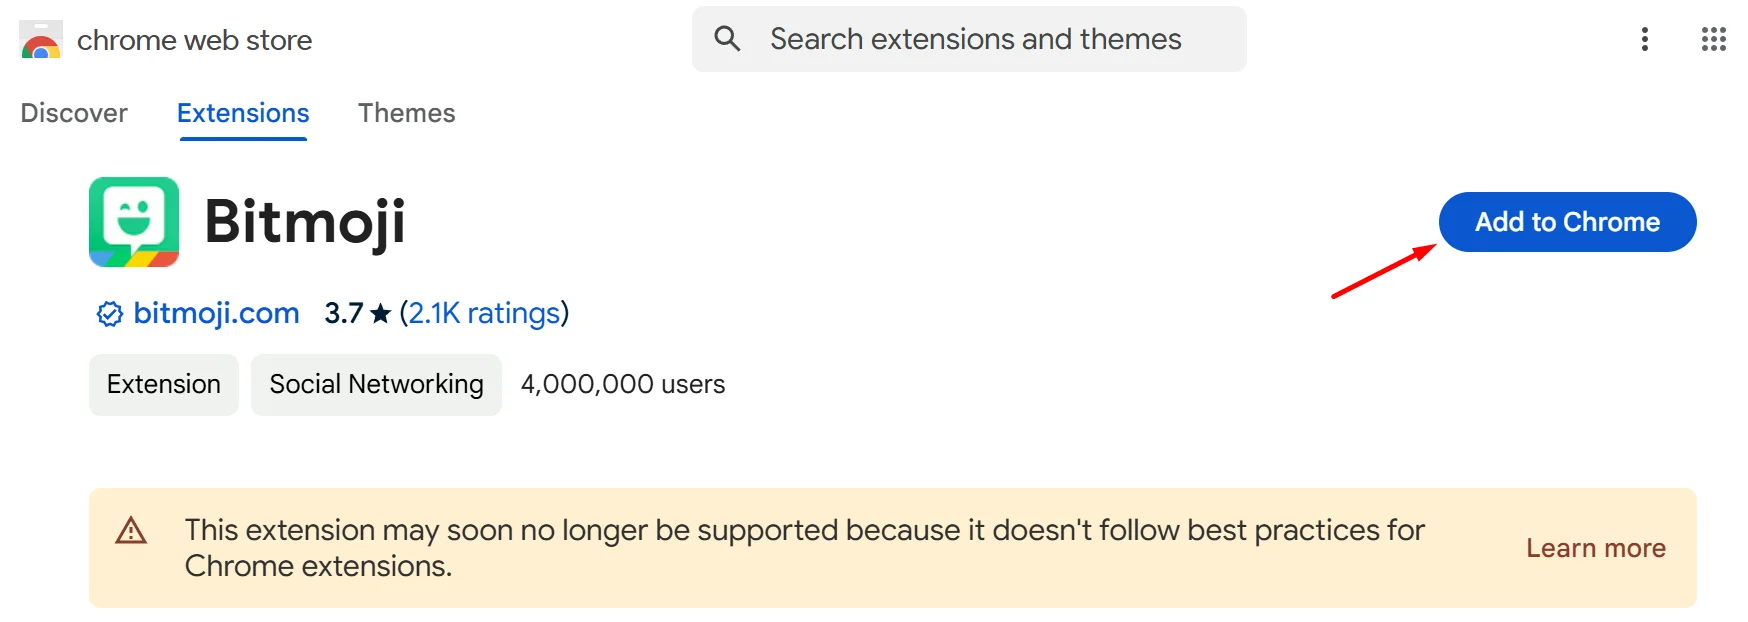
- In the search bar of the Chrome Web Store, type ‘Bitmoji’ and press Enter. This will display the Bitmoji extension.
- Click on the ‘Add to Chrome’ button next to the Bitmoji extension in the search results.
- A pop-up will appear asking for confirmation to add the extension. Click ‘Add Extension’ to proceed with the installation.
- Once the extension is downloaded and installed, you’ll see the Bitmoji icon appear in the top-right corner of your browser. To make it easily accessible, pin the extension by clicking on the pin icon to Bitmoji.
Adding Bitmoji to Google Slides
Once you’ve added the Bitmoji extension to your browser, follow the below steps to make a Bitmoji on Google Slides.
- Open Google Slides and either create a new blank presentation or edit an existing one.
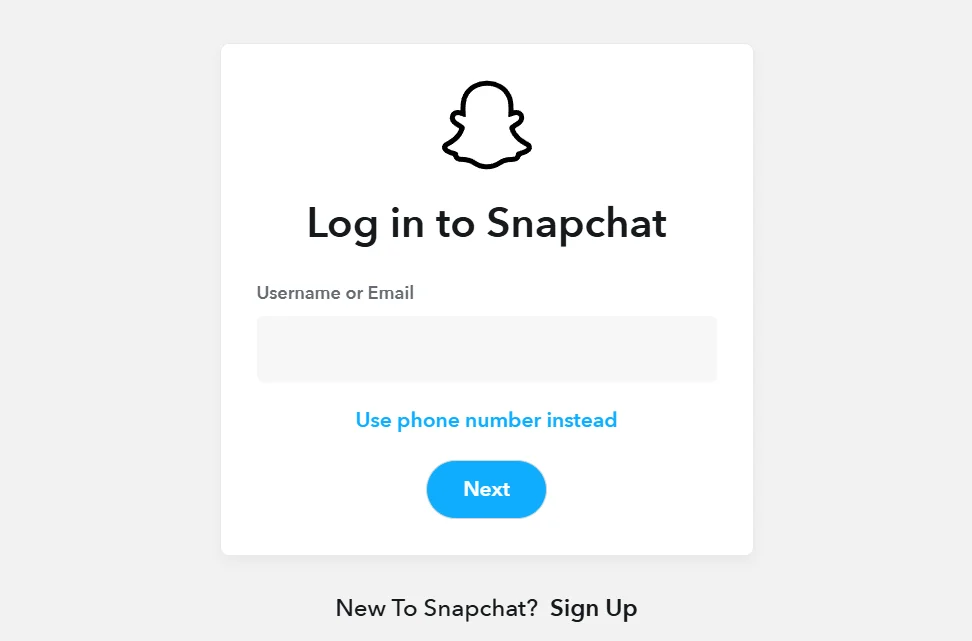
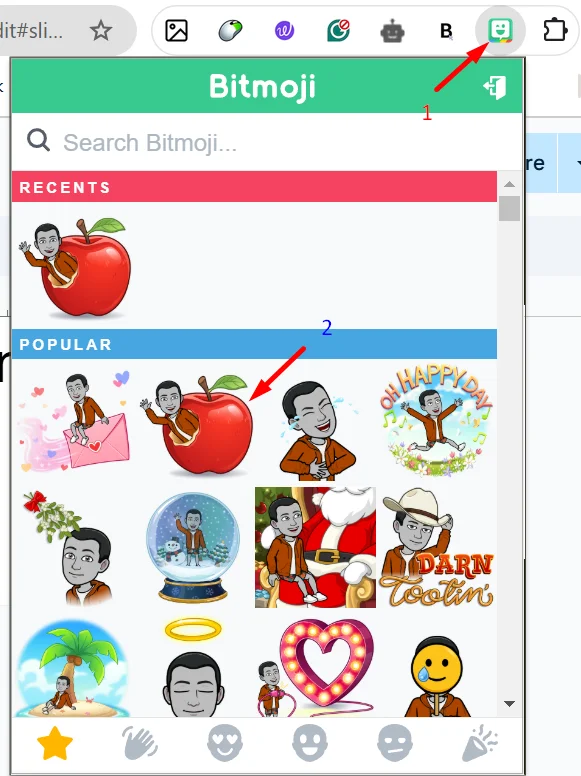
- Click on the Bitmoji extension icon in the top-right menu bar. If you haven’t logged in yet, sign in to your Bitmoji account, or you can log in using your Snapchat account. If you’re new to Bitmoji, you’ll first need to create and save your avatar.
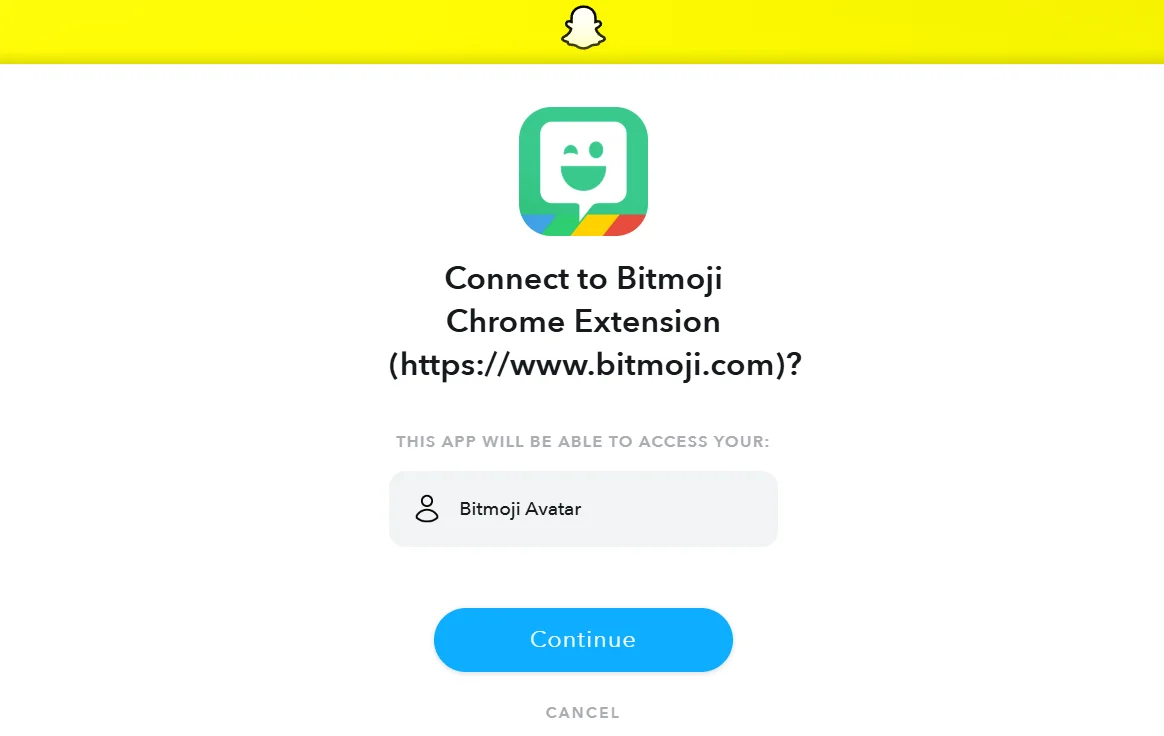
- After logging in, connect the Bitmoji extension by hitting on the ‘Continue’ button
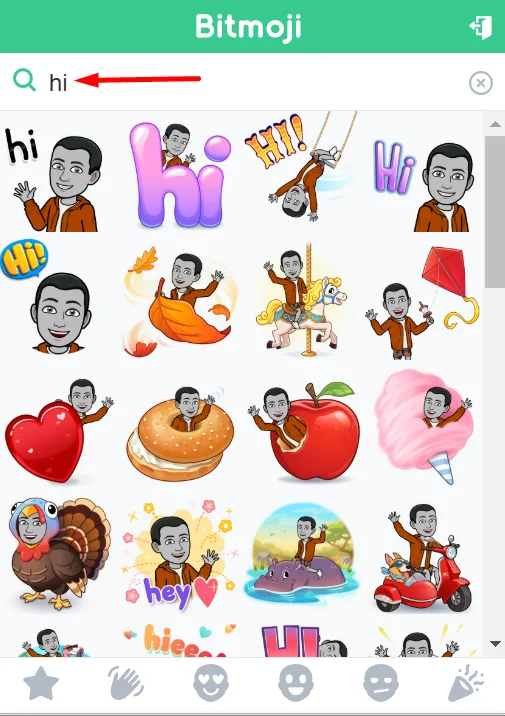
- Now, search for the type of Bitmoji you want and select one from the drop-down list.
- You can either drag the Bitmoji directly into your presentation or right-click on the Bitmoji, select “Copy Image,” and then paste it into the slide.
- Once added, you can resize or customize the Bitmoji by cropping or animating it as needed.
- And that’s it! You’ve successfully added Bitmoji to your Google Slides presentation.
How to Create a Bitmoji Classroom on Google Slides
Virtual classrooms are becoming increasingly popular as they offer a more interactive and engaging learning experience. With the use of images, videos, and animations, virtual classrooms can help students retain information better than traditional classrooms.
To make these sessions even more memorable, teachers can add a fun element by creating their own Bitmoji virtual classrooms. Bitmojis allows you to present your lessons in a creative and exciting way, making the learning experience more enjoyable for students.
- Open Google Slides and start a new blank presentation.
- Go to Insert > Image > Search the web and search for “wall background with a floor.”
- Choose an image that you like, click on it, and select Insert. Adjust the image to fit the screen.
- Click on the Bitmoji extension icon in the top-right corner and search for “pose.” Select a pose you like and drag it into your presentation.
- Search for “standing board” in the web library and insert an image to fit your classroom theme.
- Go to Insert > Text box to add a text box to your slide. Select the text box, then go to Format > Borders and lines > Border weight to adjust the text box border.
- Search for and insert a “bookshelf” image from the web library, adjusting it to fit the space.
- Add another Bitmoji avatar inside the text box to make the classroom more interactive.
- Go to Insert > Word Art to add some text to your classroom, such as a title or lesson heading.
- And there you go! You now have your very own customized, animated Bitmoji classroom in Google Slides.
Bonus Tip: You can also add animations to each element for a more dynamic presentation.
Google Slides offers many features to create engaging presentations quickly, and adding Bitmoji takes it a step further by personalizing your slides. If you want to make a Bitmoji on Google Slides, it can help make your presentation more relatable and fun. This makes it easier for students to connect with the topic and adds a creative touch. In any environment, whether corporate or educational, Bitmoji helps you connect with your audience in a creative way. If you enjoyed this guide, feel free to share.
- RELATED GUIDE: – Quip vs Google Docs: Which Productivity Tool is Right for You?
FAQs (Frequently Asked Questions)
Can I use Bitmoji in Google Slides for presentations?
Yes, you can use Bitmoji in Google Slides for presentations! Bitmoji offers a wide variety of expressions and poses, making it a fun and creative way to add personality to your slides.
How do I add my Bitmoji to Google Slides?
To add Bitmoji to Google Slides, install the Bitmoji Chrome extension, then open your presentation. Click the Bitmoji icon, log in, and select your desired Bitmoji. Drag it into the slide or copy and paste it. Resize and customize as needed.
Can I customize the size and appearance of my Bitmoji in slides?
Yes, you can customize your Bitmoji in slides by resizing, cropping, and adjusting its appearance to fit your needs.
Can I add an emoji to Google Slides?
Yes, you can add emojis to Google Slides by copying and pasting them from an emoji website or using the built-in emoji keyboard on your device.

