Gigabyte Control Center is a tool many people use to change fan speed, check hardware details, and adjust performance modes. When it opens and responds as it should, it makes looking after your computer feel easy and simple.
There are times when the program refuses to open, hangs on the loading screen, or stops reacting to your RGB or fan settings. It can slow you down and make your setup feel harder to manage than it should be.
This guide helps you make sense of why the GCC not working issue shows up in the first place and points out the key areas that often cause the trouble. Also, the next sections will share a clear step-by-step guide you can try to resolve the issue.
Quick Fix: Try running Gigabyte Control Center as an administrator or reinstall the app.
How to Fix Gigabyte Control Center Not Working
Reinstall Gigabyte Control Center
Open the Control Panel on your PC and go to the Programs and Features section that shows all your installed apps. Find Gigabyte Control Center in the list, right-click on it, and select Uninstall. Once the removal is finished, restart your PC.
Once booted, open the official Gigabyte page. You will see a “Download Now” button to download the installer. Save the file to your computer.
After the installer finishes downloading, right-click the file and choose Run as Administrator. Let the setup finish on its own. When the installation is complete, restart your PC.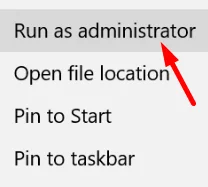
Update the Drivers
Gigabyte Control Center depends on the drivers that control your motherboard, graphics card, and cooling system. If any of these drivers are old or do not match well with your setup, the app may struggle to read your hardware or respond to your commands.
The best solution for this is to update the drivers. You can update them by visiting the Gigabyte support page and choosing the files made for your model. Just keep in mind that you have to pick the right ones and install each file on your own, which can feel slow and a bit confusing if you are not used to doing it manually. For an easier process, you might also consider using a Windows driver updater or manager tool.
Run Gigabyte Control Center as Administrator
- Right-click the Gigabyte Control Center shortcut on your desktop and choose Properties.
- Go to the Compatibility tab.
- Tick the Run this program as an administrator box, then click Apply and OK.
- After that, open Gigabyte Control Center again and see if it starts.
Install Microsoft .NET Framework and C++ Redistributables
Gigabyte Control Center depends on a few core tools from Microsoft to work. Two of the most important ones are the .NET Framework and the Visual C++ Redistributables. If these parts are missing or outdated, the app may not work or may close right after you try to launch it. So, add the newest versions to your PC using the steps below:
- Open your browser and visit the official Microsoft page for the .NET Framework.
- You should see the most recent version listed at the top.
- Click the link for the Runtime version, such as Download .NET 4.8.1 Runtime.
- After the file finishes downloading, open it and follow the instructions shown on the screen.
- When the setup finishes, restart your PC so the changes are applied.
- After that, open your browser again and visit the official Microsoft page for Visual C++ Redistributables.
- On that page, you will see download buttons for ARM64, x86, and x64 versions under the section for Visual Studio 2015, 2017, 2019, and 2022. Pick the one that matches your system and save the file to your computer.
- When the download finishes, open the installer and follow the steps on the screen. If your system needs more than one version, install them one after the other.
- After the installation is finished, restart your PC so the updates can take effect.
Remove GCC Configuration Files
Gigabyte Control Center keeps its settings in a set of files inside your system. If these files become old or damaged, the GCC may refuse to open or may stop reacting to your commands. Removing these files gives the program a chance to create new ones, which can help it start clean.
- First of all, close the Gigabyte Control Center.
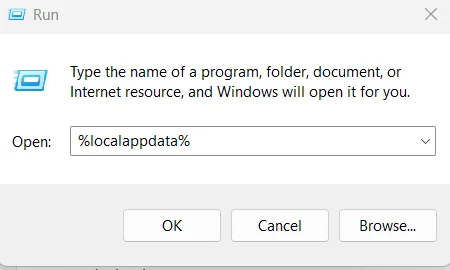
- Press the Windows key and R together on your keyboard. A small run box will appear. Type %localappdata% in the box and press Enter.

- Now, find the Gigabyte folder, then open the GCC folder inside it. Remove everything you see in that location.
- Once that is done, restart your PC.
- After your computer boots up again, open Gigabyte Control Center and check if it loads.
Turn off Core Isolation Memory Integrity
Windows has a security option called Memory Integrity under Core Isolation. It helps protect your system, but it can also block certain apps from opening, and Gigabyte Control Center is one of them. Turning this setting off may help the app open.
- Press the Windows + I keys together on your keyboard to open the Settings window. (You can open Windows settings directly as well)
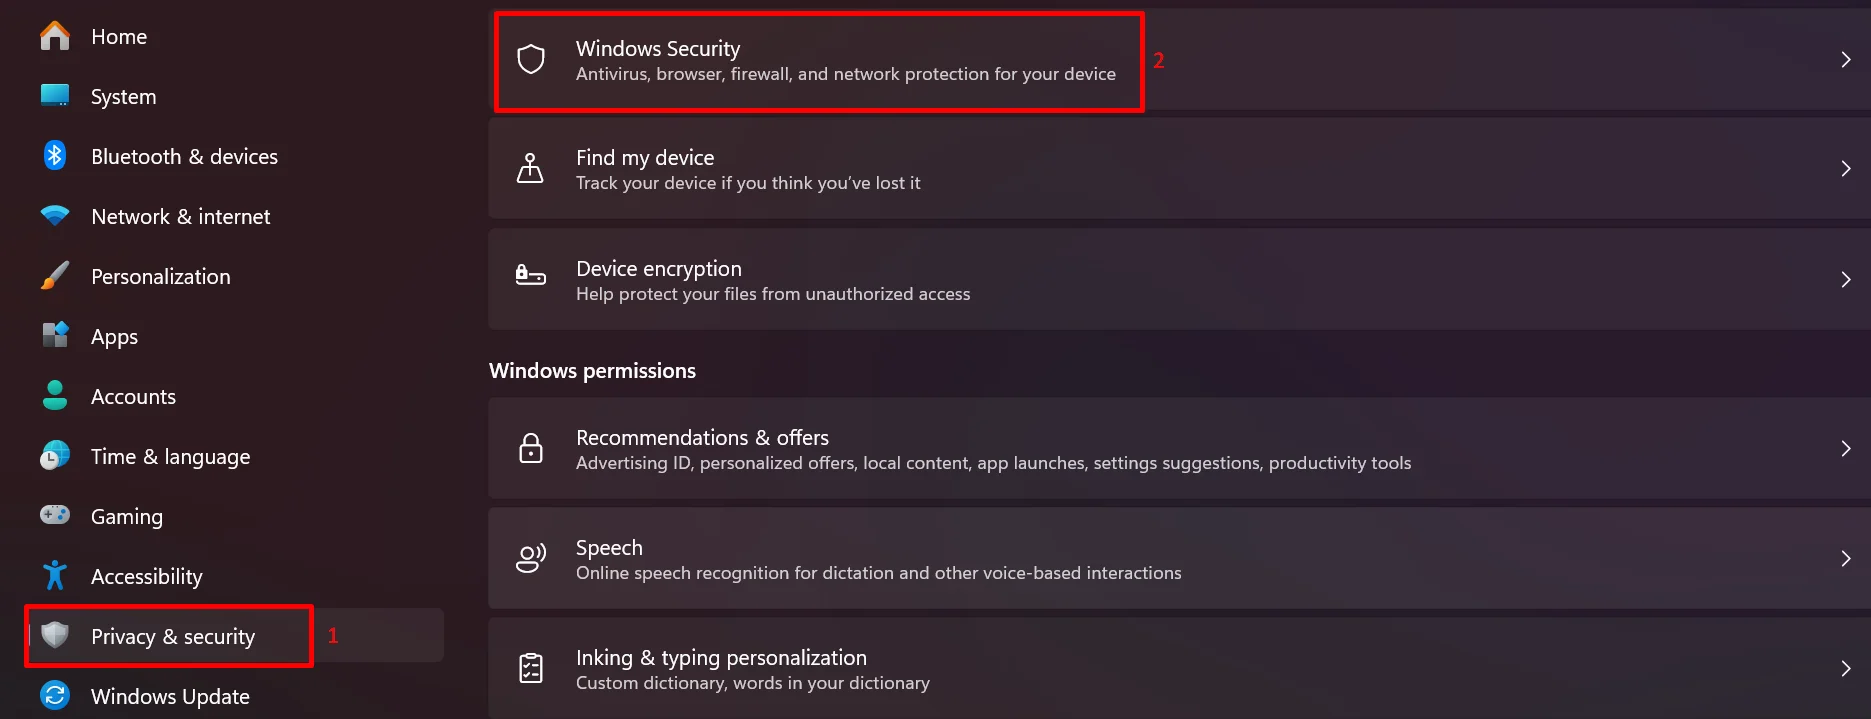
- Go to Privacy and security, then choose Windows Security.

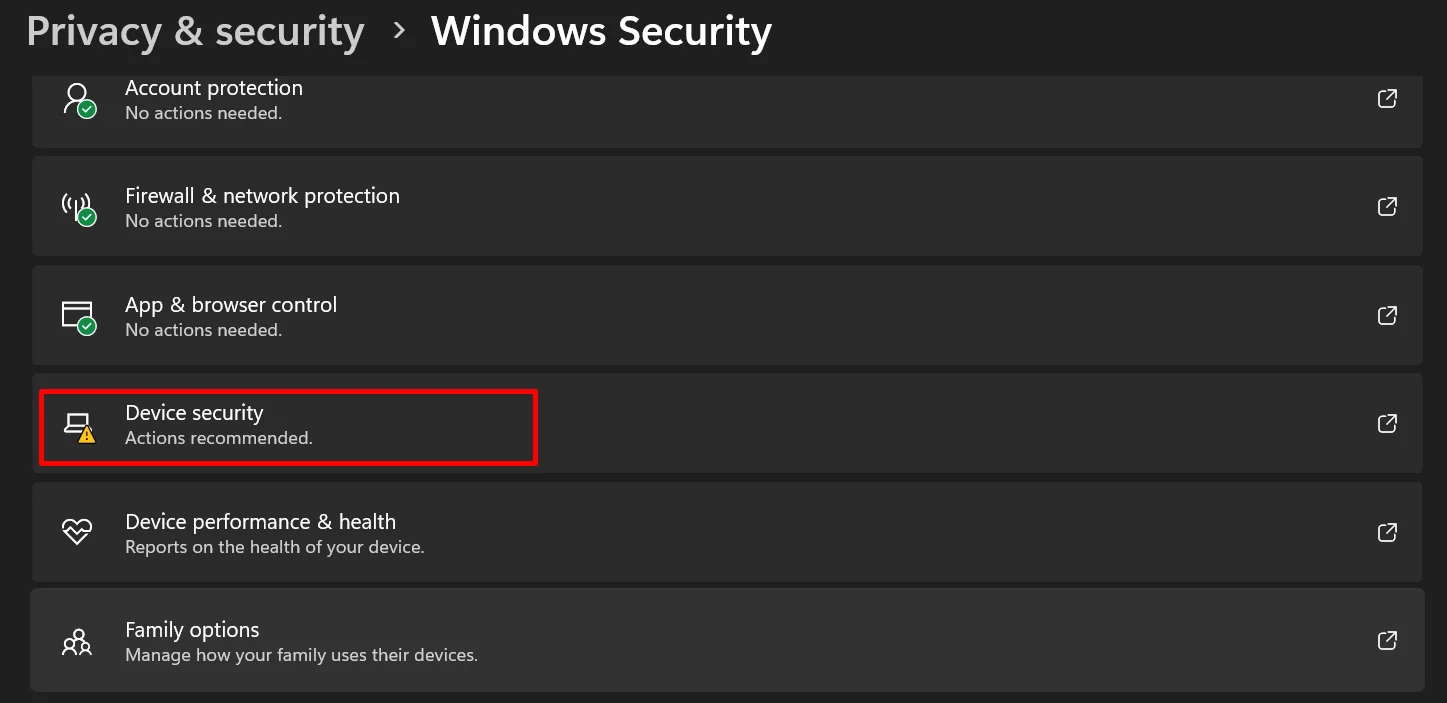
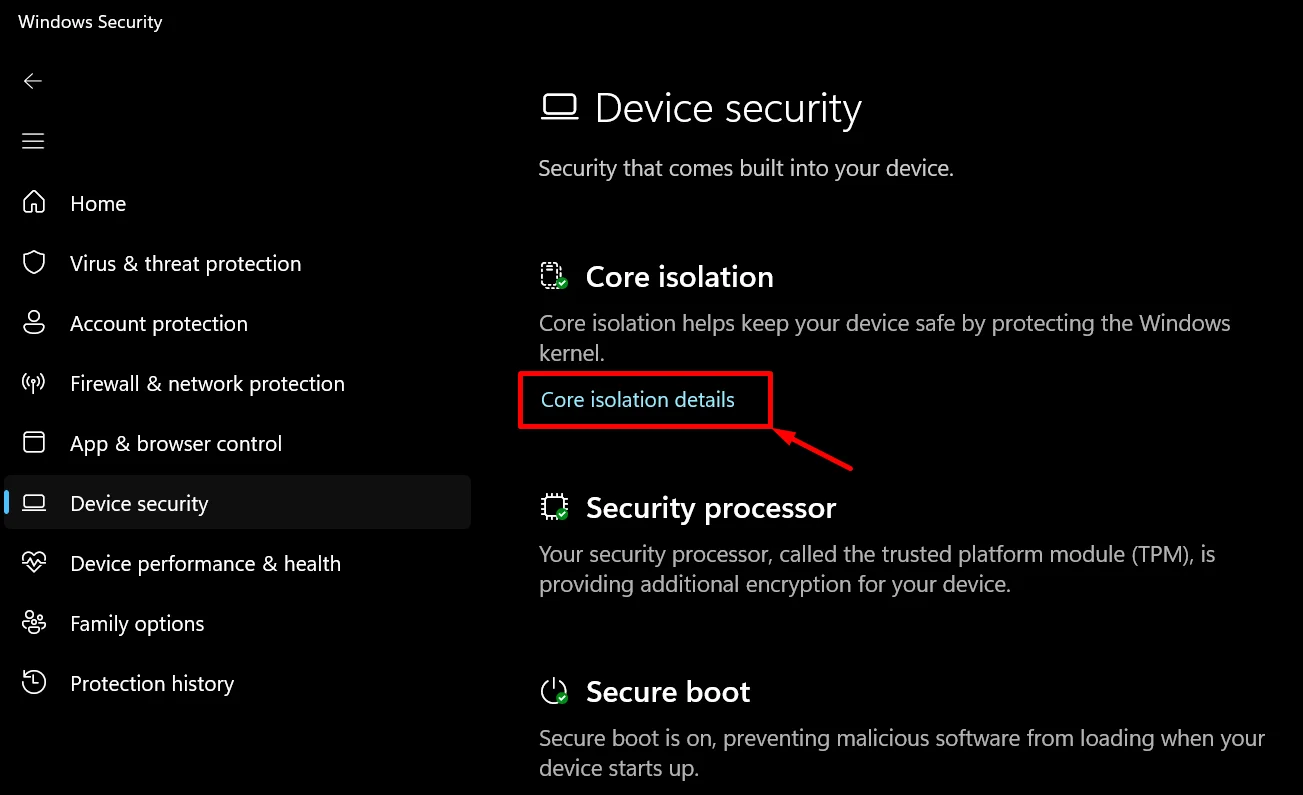
- Select Device security.

- In the Core Isolation section, click the Core isolation details that show more details.

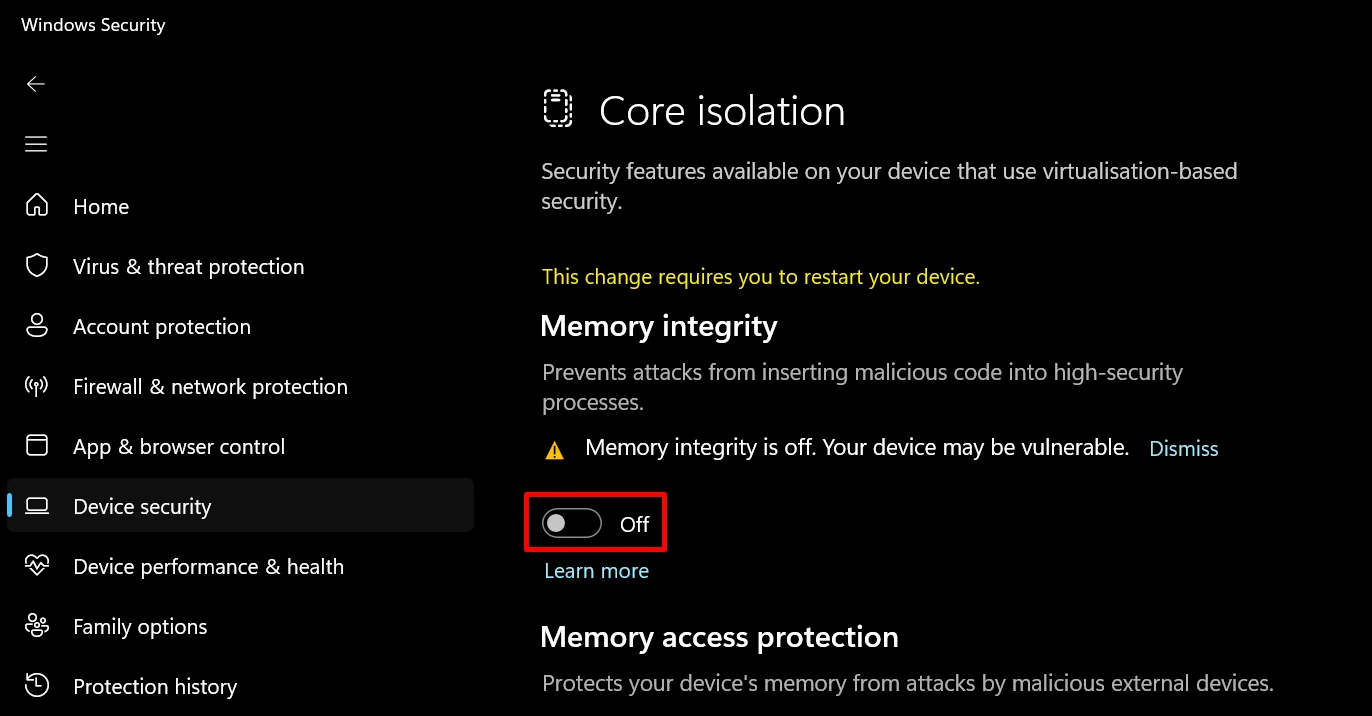
- Now, turn off the Memory Integrity switch.

- Restart your PC once the change is applied.
Turn Off Windows Defender for a Short Time
If Windows Defender is very strict, it can block certain apps from opening. Turning it off for a moment can help you see if it is getting in the way of Gigabyte Control Center.
- Click the Start menu, then open Settings.
- Choose Update and Security, and then open Windows Security.
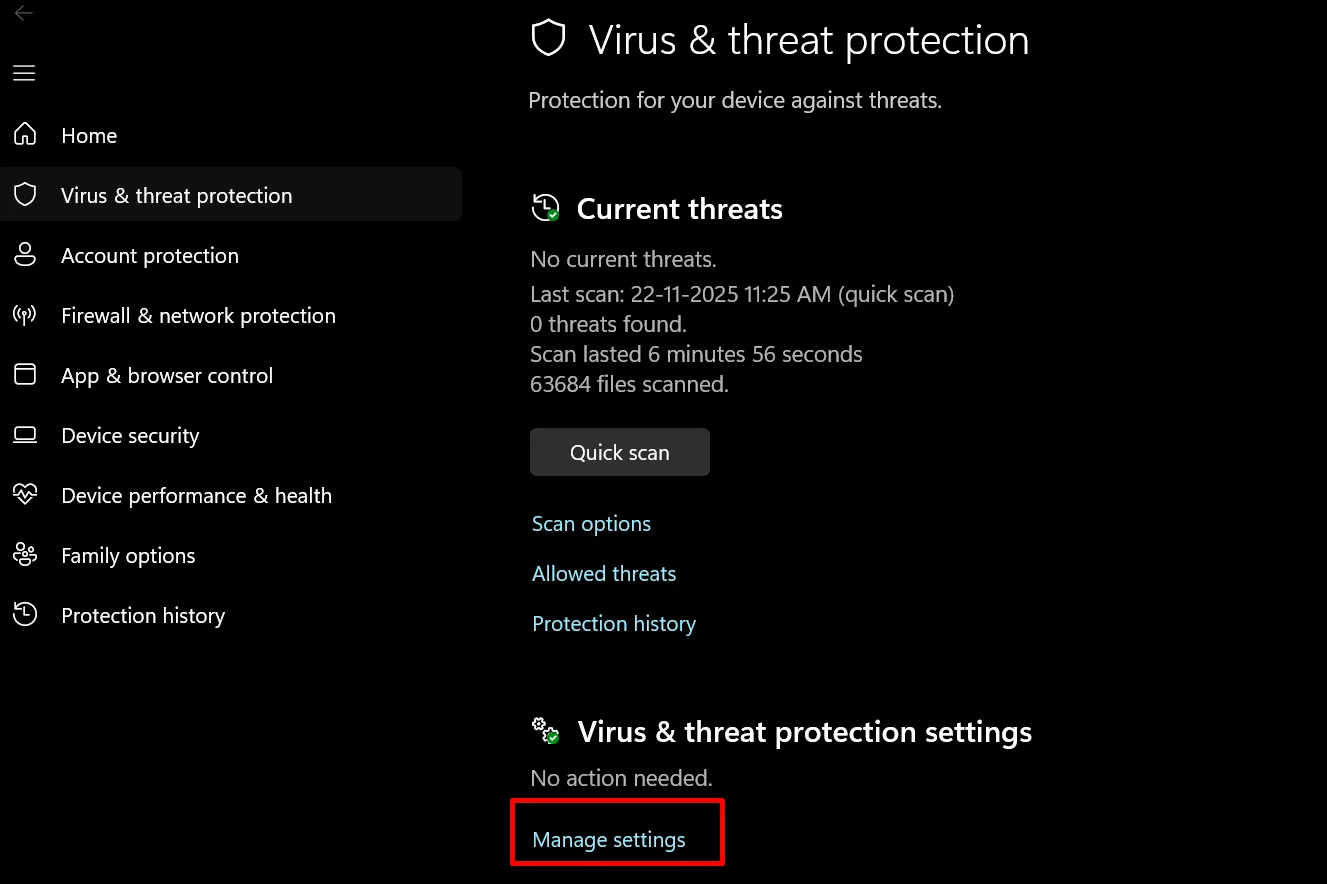
- Select Virus and Threat Protection, then choose Manage Settings.

- Now, turn off the Real-time protection toggle. A warning may appear, so confirm if you want to continue.

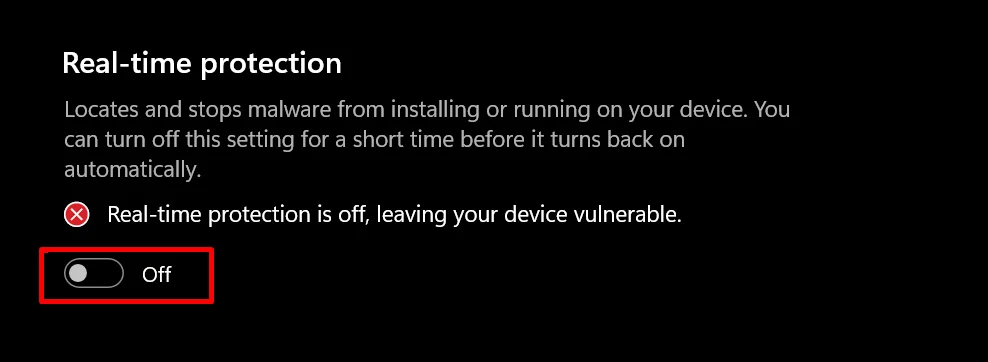
Keep in mind that turning off your protection carries some risk. Only keep it disabled for a short period while you test your app, and make sure you only download files from safe sources.
Perform a Clean Boot
A clean boot helps your system start with only the basics loaded. This may help you figure out if another program is blocking Gigabyte Control Center from opening.
- Press the Windows key and R together, type msconfig, and then press Enter.

- In the window that appears, open the Services tab.
- Check the box that says Hide all Microsoft services.

- After that, click Disable all to turn off the remaining services.
- Next, move to the “Startup” tab and choose Open Task Manager.
- In Task Manager, turn off every item listed in the startup section.


In the end, Gigabyte Control Center is only one way to manage your system, and if you keep running into the Gigabyte Control Center not working issue, there are many other tools you can explore as well.
That’s all for now. I hope this guide makes things easier for you. Tell us which method worked for you or if you found another approach. If you have any questions or ideas, feel free to share them in the comments.


