Have you ever tried to make an important call, but your phone just refused to work? You dial the number, press call, and instead of hearing the ringtone, you see “Call not sent.” It is so frustrating. And it always happens when you need to make a call the most.
I know the feeling because I have faced this issue on my Oppo phone. At first, I thought it was just my phone giving such errors. But when I searched online, I was surprised to see that many people using Vivo, OnePlus, Realme, Redmi and even Samsung phones have faced the same problem.
Most of the time, this happens because your phone cannot connect to the network. The signal might be weak or there could be a problem with the service. But waiting around is not an option. You need a quick fix.
In this post, I will show you some simple ways to fix the “Call not sent” error so you can make calls without any trouble.
What Does Call Not Sent Mean?
This error pops up when your phone struggles to connect to your carrier’s network to start a call. Most times, it’s because of weak signals (like when you’re in a spot with bad service) or temporary network problems. Occasionally, your phone’s dialer app itself might act up due to stored-up “junk” files (cache) that need cleaning. Sometimes, it could be due to the software of the device too.

8 Methods to Solve Call Not Sent Error on Oppo/Vivo/OnePlus/Realme/Samsung
Check Network Signal Strength
If you see the “Call not sent” error, the first thing to do is check your signal. Look at the signal bars on your phone. If they are low or missing, that could be the problem. Try moving to a place with better reception, like near a window or outside on a balcony. This can help improve your signal and fix the issue.
If your signal looks fine but you still cannot make calls, there might be a network issue. Check if your mobile carrier is having problems in your area. You can also contact them to find out if there is an outage.
Restart Your Phone
If you’re having trouble with calls, try something simple: restart your phone. This can fix many network and software problems. When you restart, your phone clears out temporary files and processes that might be causing issues. So before heading to other fixes, you should try restarting the device to see if that solves.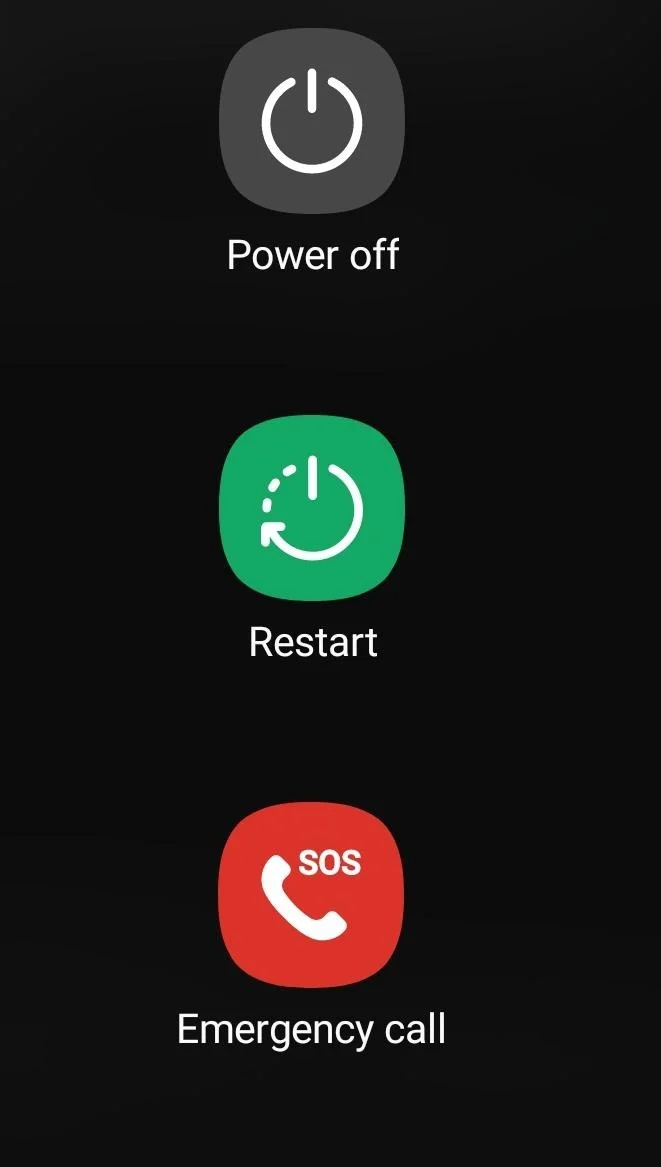
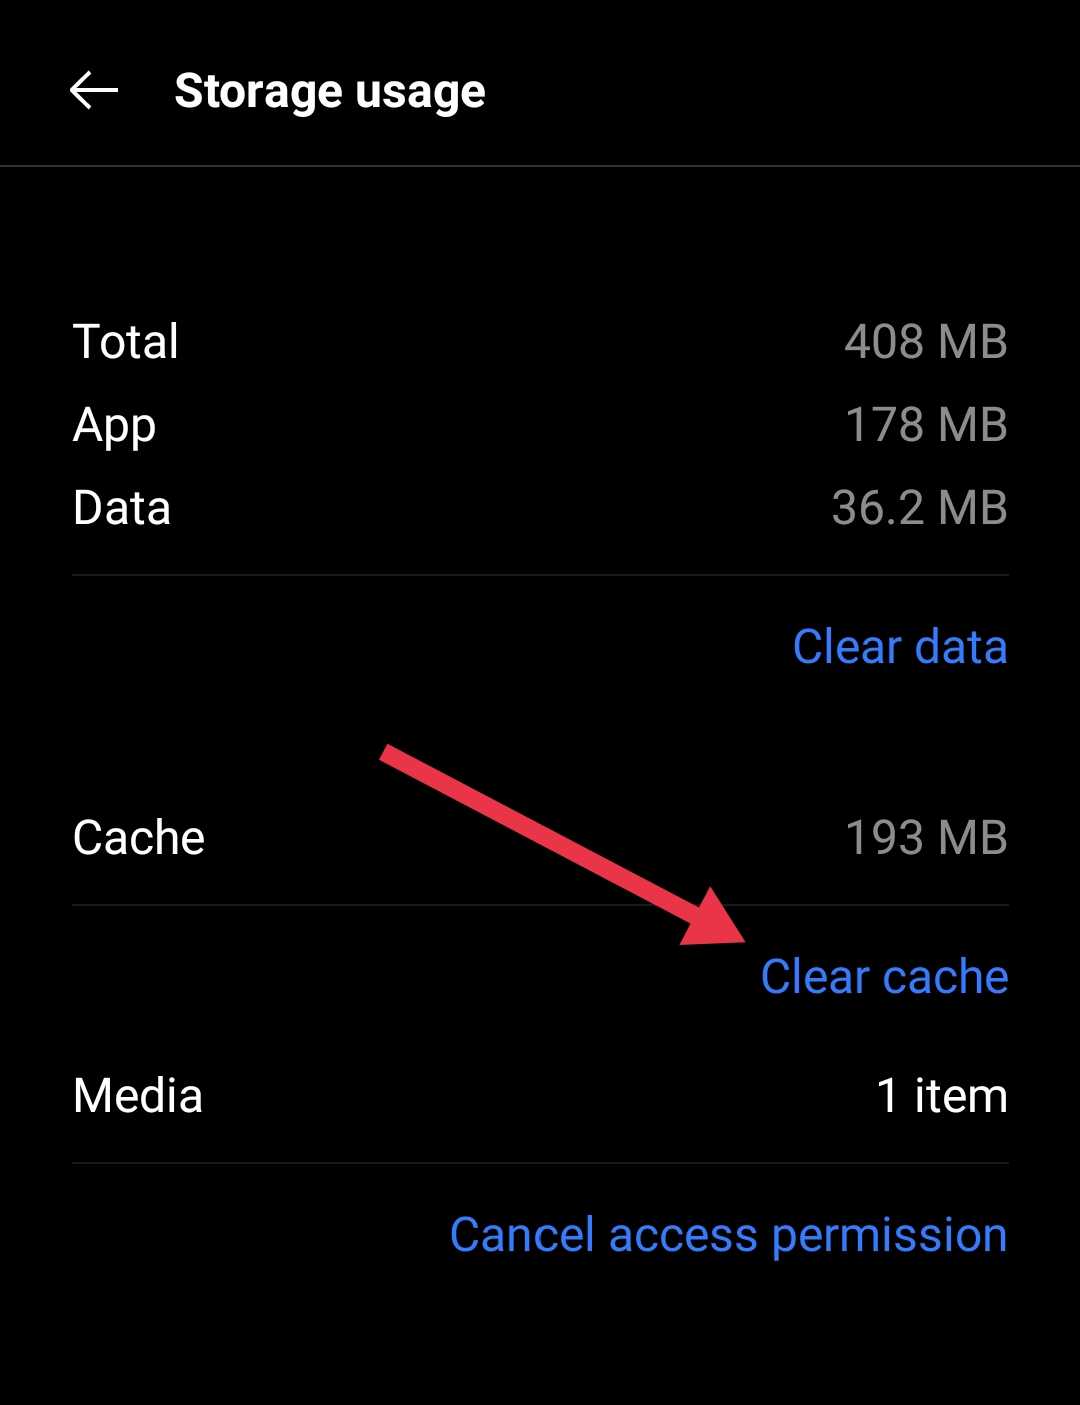
Clear the Dialer/Phone App Cache
If your calls are being interrupted, try clearing the cache of your phone app. This can fix glitches and make your device run faster. Since you can’t directly clear the cache on iOS devices, this method is only for Android device users.
- Open your phone’s Settings.
- Go to “Apps” or “Applications Manager“.
- Find the Dialer App or Phone app and tap on it.
- Select “Storage” or “Storage & cache“.
- Tap “Clear cache“.

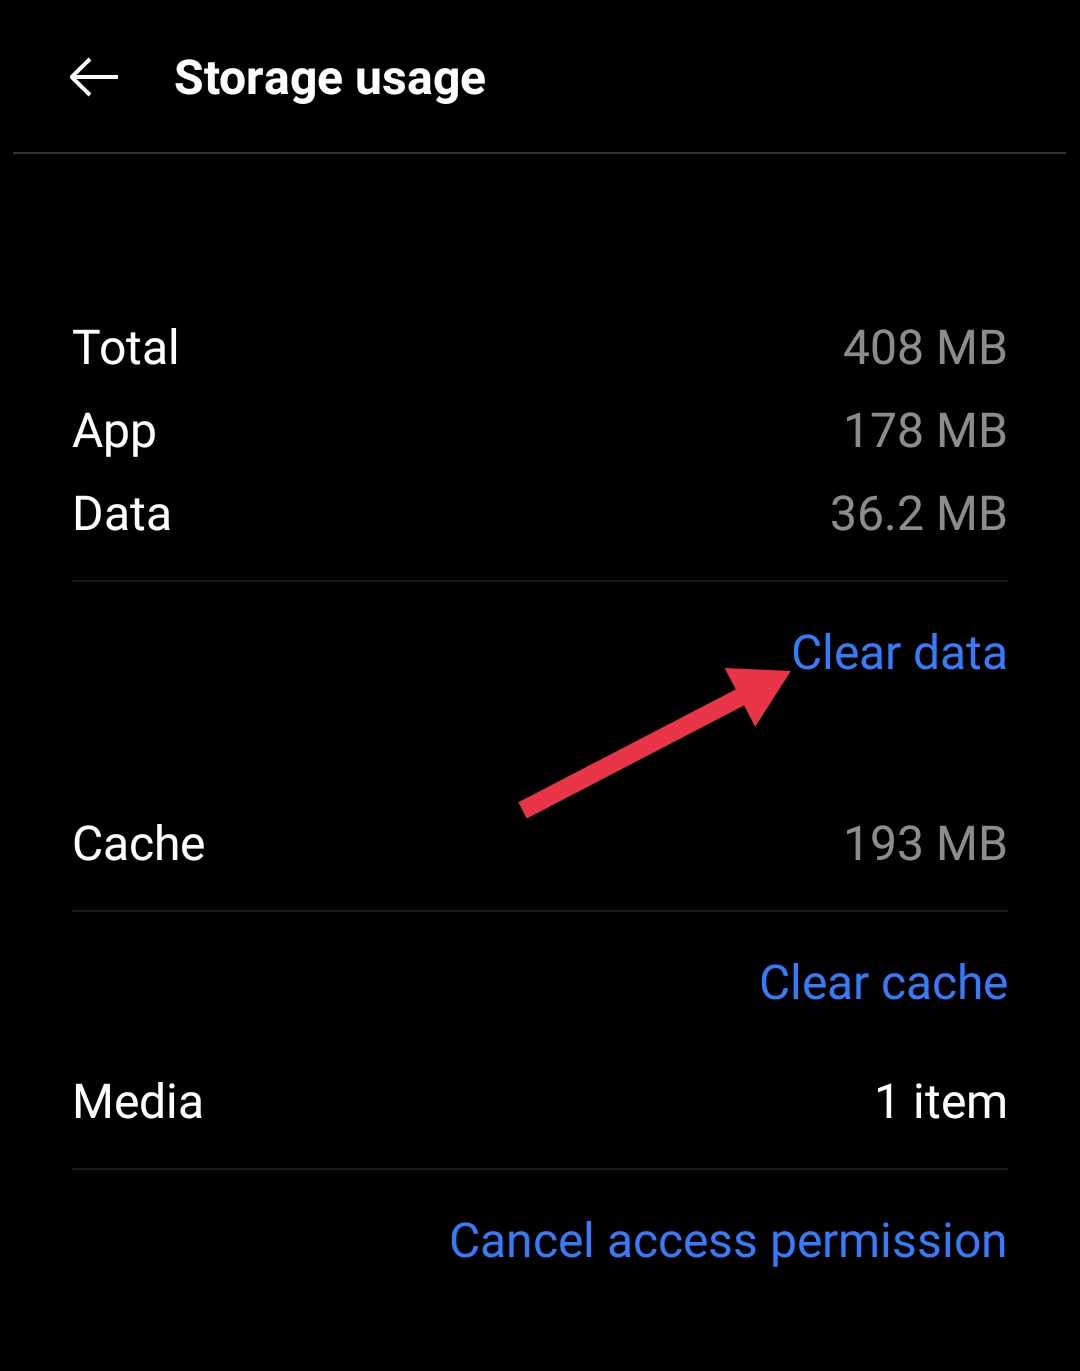
Clear Data of the Phone App
If clearing the cache didn’t solve your call issues, the next step is to clear the data of your Dialer or Phone app.
- Navigate to your phone’s Settings.
- Find and tap on Apps or Applications Manager.
- Locate the Phone or Dialer app under System Apps.
- Tap on Storage or Storage & cache.
- Instead of Clear cache, tap on Clear data.

Important things to keep in mind:
- This won’t delete your contacts stored in your phone, SIM card, or linked email accounts.
- However, after clearing data, you might not see all your contacts right away. Many may be hidden by default.
- To make your contacts visible again, you’ll need to go into your dialer settings and adjust the visibility options.
- It’s a good idea to back up your contacts before trying this, just to be safe.
Check Airplane Mode
If you see the “Call not sent” error, one simple fix is to check if Airplane Mode is on. While this is not a common issue, I have seen many people, especially those who are new to smartphones or elderly users, accidentally turn on Airplane Mode or similar features without realizing it. This could be the reason their calls are not going through.
When Airplane Mode is active, your phone cannot send or receive calls because it turns off all network signals. To fix this, just turn it off.
- Swipe down to open the notification bar or device Settings.
- Find and tap on the Airplane Mode icon/option.

- Tap it to turn it off.
- Wait a few seconds for your phone to reconnect to the network.

Check Sim Card
Your SIM card is important for making calls. If it is not inserted properly, damaged, or outdated, your phone may show the “Call not sent” error.
- First, turn off your phone and remove the SIM card using a SIM ejector tool.
- Clean the metal contacts with a soft cloth or a cotton swab with a little rubbing alcohol to remove any dirt.
- Then, reinsert the SIM card properly, turn on your phone, and check if the issue is fixed.
If the problem continues, check if the SIM card is physically damaged. If it is, you may need a replacement. You can also try using a different SIM card in your phone to see if the issue is with the SIM or the device. If you are using an eSIM, this method is not for you. Skip to the next solution.
Contact Your SIM Provider
If none of the previous solutions worked, it’s best to reach out to your SIM provider for help. They can check if there are network outages or maintenance work in your area. If your SIM card is damaged, expired, or not activated properly, they can assist with a replacement or activation.
I know that since your calls are not going through and you’re getting the “Call not sent” error, it’s not possible to contact them from your phone. However, you will need to call them from someone else’s phone. Explain the issue so they can check if the problem is from their side and provide a solution. They can also guide you on setting up the correct network settings or fixing any account-related issues
Check for Hardware Problems
Hardware issues can sometimes cause the “Call not sent” error, though they are less common than network or software problems. A faulty antenna can weaken signal reception, and a malfunctioning modem can prevent your phone from connecting to the network. Problems with other components like the SIM card slot or power system can also affect calling.
Before assuming it is a hardware issue, try inserting another SIM card, preferably from the same network provider, to check if the problem continues. If calls still do not go through, visit the nearest smartphone service center or a trusted local mobile repair shop.
RELATED:
- How to Fix T-Mobile Error 111 (10 Working Methods)
- How to Stop Apphub Processing Requests on Samsung Phones


