Is your Prettycare vacuum not charging? Many folks face this issue, and we’re here to help. In this article, we’ll walk you through some simple steps to fix the charging issue on the Prettycare vacuum.
Prettycare is a brand that makes affordable and innovative vacuum cleaners that come with powerful cleaning options.
Their vacuums are excellent at getting into tight spots, like under your furniture. You can count on them to remove all sorts of unpleasant things like hair, dust, and crumbs that clutter your home. Prettycare vacuum cleaners surely make cleaning floors, carpets, or sofas easy.
While Prettycare vacuums are undoubtedly efficient cleaning tools, they, like any electronic devices, may encounter occasional issues, such as difficulties in charging.
These problems can often be caused by a malfunctioning power adapter, a damaged battery, or even simple connectivity issues, but don’t worry – most of these issues can be resolved with a few simple troubleshooting tips that we are going to reveal in the below sections.
These methods work on most of the models including the PRETTYCARE W200.
How to Fix Prettycare Vacuum Not Charging
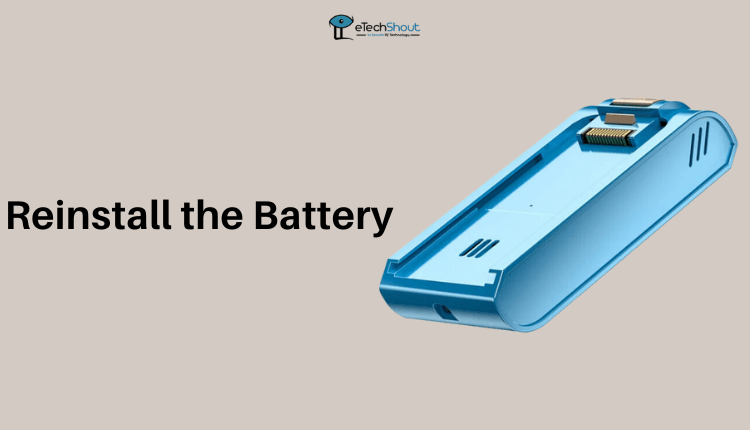
Reinstall the Battery

Here is how to fix it.
- Unplug and turn off your vacuum cleaner.
- Now, find the battery compartment. It’s typically located at the bottom or back of the vacuum.
- Carefully open the battery compartment and remove the existing battery. Note the battery’s orientation; it usually has clear markings indicating the correct placement.
- Check both the battery and the contacts inside the vacuum for any dirt, debris, or corrosion. Clean them if necessary using a soft, dry cloth or a cotton swab.
- The new or reinstalled battery must be aligned correctly with the compartment contacts. The positive (+) and negative (–) terminals on the battery should match the markings inside the compartment.
- Gently slide or press the battery into place tightening it firmly.
- Securely close the battery compartment cover.
- Now that the battery is correctly installed, connect the vacuum cleaner to the wall outlet and charge it according to the manufacturer’s instructions. Make sure the power source is working correctly, and the charging indicator on the vacuum shows it’s receiving power.
- Test the Vacuum: After charging, turn on the vacuum cleaner and see if it operates correctly. If it does, the issue may have been resolved by reinstalling the battery correctly.
Change the Charging Cable or Charger
Simply swapping the charging cable or charger is a useful method for resolving the Prettycare vacuum w200 not charging issue. The reason for this may be the possibility of a faulty or damaged charging accessory.
Over time, charging cables and chargers can wear out, lose connection, or become damaged, preventing the vacuum from receiving a proper charge.
- When swapping the charging cable or charger, inspect both carefully. Look for any visible signs of damage, such as frayed wires, bent connectors, or loose parts. If you notice any issues, it’s crucial to replace the damaged component.
- If you have a replacement charging cable or charger, make sure it’s compatible with your Prettycare vacuum.
- Connect the replacement charging cable to the charger and plug it into a power source. Then, connect the other end to your vacuum cleaner.
- You now need to check whether the Prettycare Vacuum is charging or not. If the charging indicator on your vacuum now lights up or blinks (indicating it’s receiving a charge), it suggests that the previous cable or charger was indeed the culprit behind the charging issue.
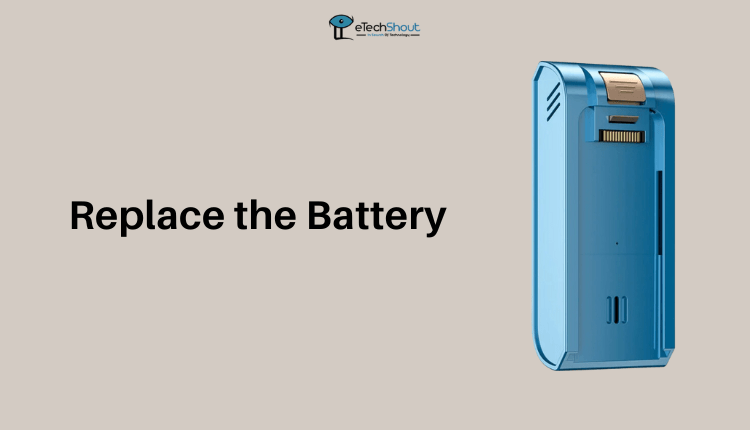
Replace the Battery
 Often, when a battery reaches the end of its lifespan or becomes defective, it fails to hold a charge or receive power from the charger, which causes problems with charging. By installing a fresh, fully functional battery, your Prettycare vacuum will have the energy necessary to recharge. If you are sure that the battery is the issue, you can purchase the replacement battery for your Prettycare vacuum from the official website. Purchase a new battery that is compatible with your Prettycare vacuum model. After that install the battery properly by following the below steps.
- Make sure the vacuum cleaner is turned off and unplugged from the power source before replacing the battery.
- Now, locate the battery compartment which is usually located on the back or bottom of the device.
- Carefully open the battery compartment and remove the old or dead battery. Note the orientation of the battery and any specific instructions provided by the manufacturer regarding battery replacement.
- Align the new battery correctly in the battery compartment, following the manufacturer’s guidelines.
- Put the new battery in place by gently sliding or pressing it into the compartment.
- Close the battery compartment cover, plug in the vacuum cleaner, and allow it to charge for the recommended duration as per the manufacturer’s instructions.
Contact Prettycare Customer Support
Contacting Prettycare support is your best bet to fix the Prettycare vacuum not charging issue, whether your product is in or out of warranty. They have a team of customer support specialists who can assist with troubleshooting and technical problems.
If your vacuum is under warranty, reaching out to Prettycare support ensures you can use your warranty to fix the issue. They’ll guide you through the process, which might include repairing or replacing parts like the battery or charger at no cost.
Even if your warranty is over, contacting Prettycare support is still a good idea. Their customer service folks can suggest solutions, help identify the problem, and help with getting replacement parts or finding reliable repair services.
RELATED GUIDES: –
- Prettycare Vacuum Troubleshooting (Complete Guide)
- Prettycare Vacuum Brush Not Spinning (Fixed)
- (Fixed) Tineco Floor One S3 Not Charging
To sum it up, you can usually solve the charging problem with your Prettycare Vacuum. First, try the simple fixes we mentioned. In the event that the issue persists, contact Prettycare support.


