Back in the day, SD cards were a big deal for smartphone users. They gave us the freedom to store hundreds of photos, videos, and songs without worrying about running out of space. But today, most phones come with large internal storage, and many brands have even removed the SD card slot altogether. Still, there are many people like me who continue to use SD cards, either on older phones or newer models that still support them. For many of us, an SD card isn’t just extra storage; it’s where years of memories, photos, and videos are safely kept. Even if the phone stops working, those files stay safe on the card, and that’s the whole point of having one.
I’ve been using an SD card on my secondary Realme device for quite a while, and it was working perfectly fine. But just yesterday, out of nowhere, I ran into a strange issue. My camera suddenly stopped working and showed an error saying the “SD card error. Camera is temporarily unavailable”. I couldn’t take photos, screenshots wouldn’t save, and all my files seemed to vanish. It was frustrating because everything had been fine until that moment.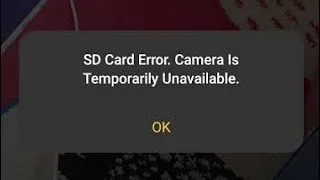
After spending some time trying different things, I finally managed to fix it. So, in this article, I’ll be sharing exactly what worked for me, along with a few other easy fixes that might help you solve this problem too.
SD Card Error? Here’s How to Fix the Camera Temporarily Unavailable Issue
Restart Your Phone
Before trying anything complicated, start with the simplest and often most effective fix that is restarting the phone. This was actually the first thing that worked for me when I faced the issue on my device. Sometimes, the phone just needs a quick refresh to detect the SD card properly again. The steps for restarting the device are mostly the same for all brands, and you know it too.
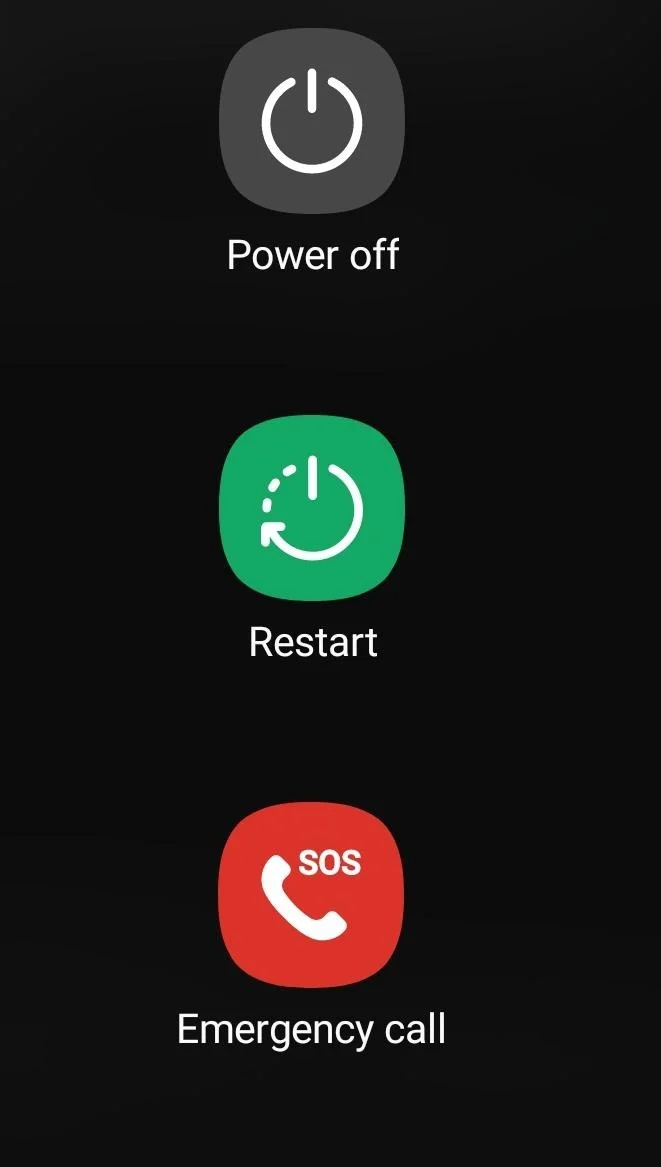
- Press and hold the Power button on the side of your phone.
- Tap on “Restart” and wait for your phone to turn off and back on.

- Once it restarts, open your Camera app or File Manager to see if the SD card and photos are back.
If the error disappears after restarting, it means your SD card was just not properly mounted or your phone’s system needed a restart to fix any ongoing bug.
Reset Camera App to Default
If restarting did not solve the issue, you can try resetting the camera app. This will clear any changes and put the app back to the way it worked when you first started using your phone.
- Open the Settings app on your phone.
- Go to “Apps” or “System Apps”, then tap on the “Camera” app from the list.
- Now, look for “Restore defaults” or “Reset to Default”
- Tap it once and confirm if it asks you.
If you don’t see this option in your phone settings, try opening the Camera app directly. Go to its Settings (you’ll usually find it by tapping the gear icon in the corner) and look for something like “Restore Defaults” or “Reset Settings,” then tap it.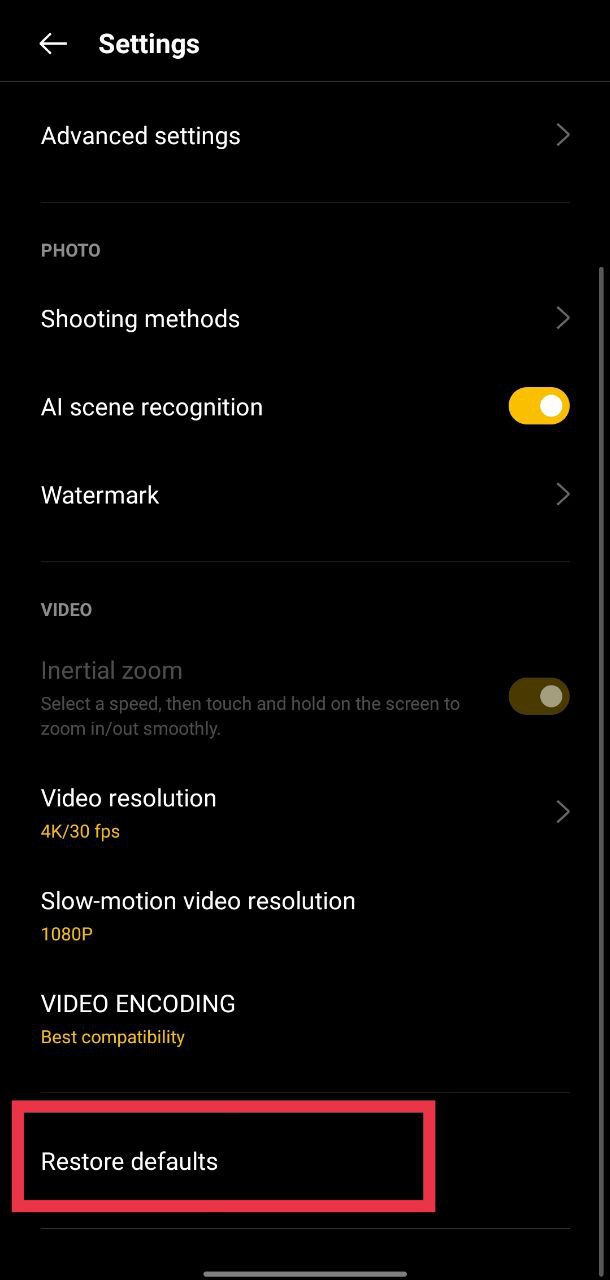
Once you reset the camera, open it again and try clicking a few photos.
Clear the Cache and Data of the Camera and File Manager App
If the problem is still there, it might be because of some old or broken files stored in your camera or file manager app. Clearing the cache and data helps remove those temporary files that could be stopping your camera from saving photos or detecting the SD card on the device. This won’t delete your actual pictures or anything stored in your device or SD card.
- Open Settings on your phone
- Go to “Apps” and tap on the “Camera” app
- Select “Storage” or “Storage & Cache”
- Tap “Clear Cache” and then “Clear Data”

- Go back and repeat the same steps for the “File Manager” or “My Files” app.

Check Camera App Permissions
Many times, the camera just stops saving photos because it doesn’t have the right permissions. If the app can’t reach your phone storage or SD card, it won’t be able to save anything you capture. So, make sure the camera has all the access it needs.
- Open the Settings app on your phone
- Tap the “Camera” app from the “Apps” or “System Apps” section
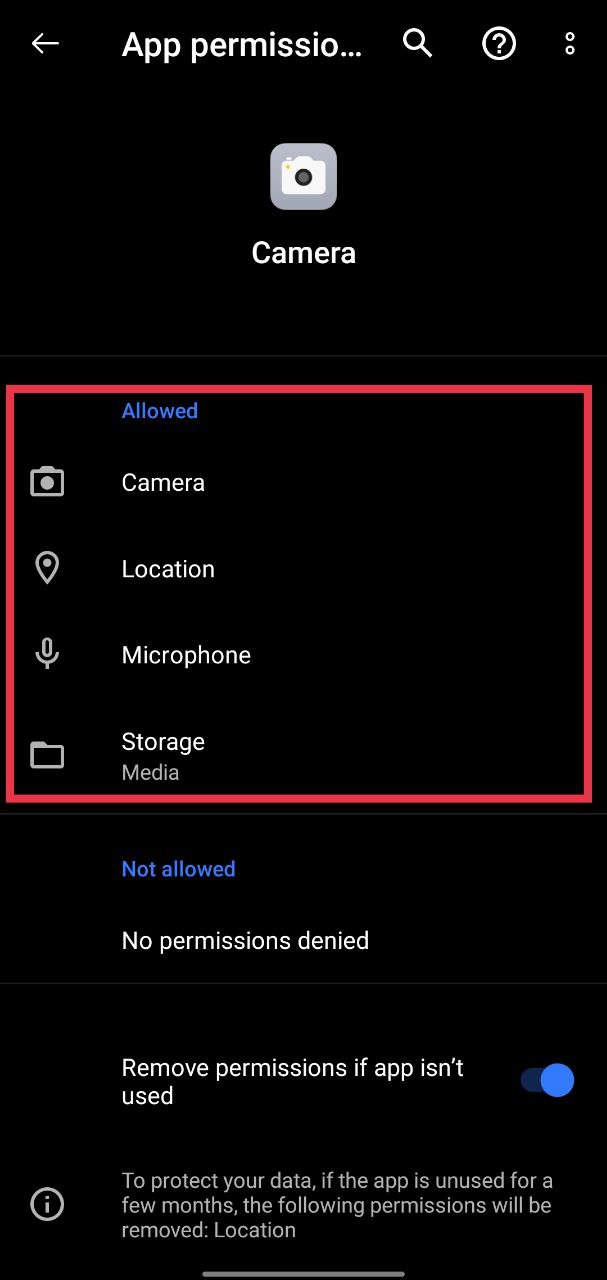
- Now, tap on “Permissions”
- Turn on all the options like Storage, Camera, and Microphone

- If any of them are off, switch them on.
Try a Factory Reset (Only if Nothing Else Works)
I don’t really suggest this unless you’ve tried everything else and nothing has helped. A factory reset will erase everything from your phone’s internal storage, so use it only as a last option. I’ve seen many people on forums say that this step finally fixed the SD card and camera error for them, but it does come with a risk.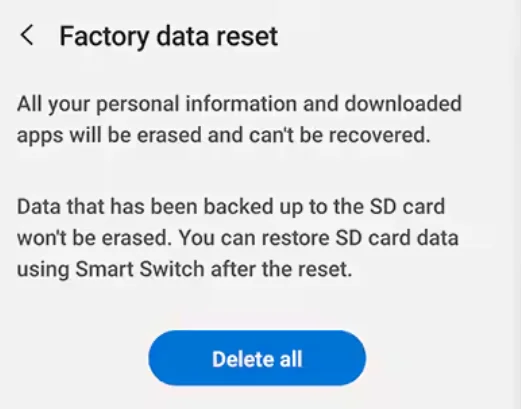
If you decide to try it, be careful during the process. When you reach the reset screen, make sure to uncheck the option that says something like “Erase SD card”. If you keep that box checked, it will wipe everything from your SD card, too.
Test the SD Card on Another Phone and Check for Software Updates
If nothing seems to work so far, it is a good idea to test your SD card on another phone. Just remove the SD card from your phone and insert it into a different device that supports SD cards. If it works fine there and you can view files, take photos, and save new ones, then the problem is likely with your phone and not the SD card itself.
Many users have noticed that this issue sometimes happens because of a software bug in the current version of the phone system. Your phone brand might have already released a patch to fix it. So check for updates by navigating to device Settings > About Phone or Software Update and install any available updates.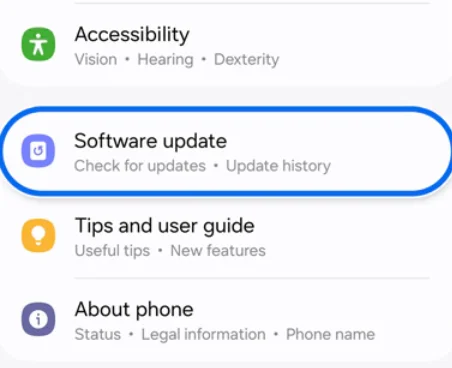
Replace the SD Card
If none of the other fixes work, the last option is to use a new SD card. Sometimes the card itself has a problem, and swapping it with a new one usually fixes the issue and lets your camera save files again.
RELATED GUIDES:
- How to fix Camera error, please re-enable it later or restart the phone to recover
- How to fix the ‘unable to use camera as the front camera is being used’ error
- How to Fix Camera Failed on Samsung (Easy & Quick Solutions!)
Hope this guide helped you fix the “SD card error. Camera is temporarily unavailable” on your device. It works on any Android phone, whether it is Realme, Oppo, Samsung, or another brand. If it helped, feel free to share it, and let us know if you have any other tips or tricks that worked for you


