Do you want to run PHP, MySQL on your Android device? If yes then, you can turn your Android phone into a Web server by simply following steps. It’s easy and simple too! You can access the web server from the mobile browser itself. We have added 2 methods with 2 different android applications which are fully functional configuration file of the server, PHP, and MySQL, Lighttpd, MSMTP, phpMyAdmin, and Nginx. You don’t need root access to use these applications on your phone.
What is Web server?
A web server is a program that uses HTTP to serve the files that form Web pages to users, in response to their requests, which are forwarded by their computers HTTP clients.
How to Install PHP, MySQL Servers on Android?
Method 1:- (Using Palapa Web Server App)
Requirements:-
- Palapa Web Server App
- DroidEdit App
Steps to Follow-
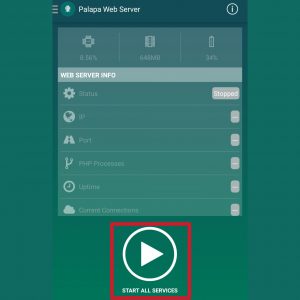
- Now just open Palapa Web server application and allow all the permissions
- Click on Start All Services

- After clicking it will start all sever
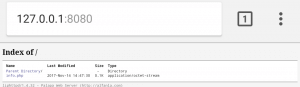
- Now check whether service is running or not by typing default URL http://127.0.0.1:8080 in your browser

- If your browser shows above screen then it means server is running perfectly
- Now just open DroidEdit app and type your code
- Click on Save and Save it in the path sdcard/pws/www/ with filename.extension

- After saving in above path, now open browser again
- Type http://127.0.0.1:8080/filename.extension
- That’s it!
Also Read : Amazing Hidden Features Of MX Player
Method 2: – (Using KickWeb Server App)
Requirements:-
Steps to Follow:-
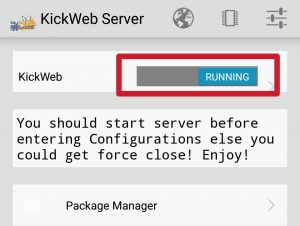
- Open KickWeb App and Click on KickWeb button to run the service

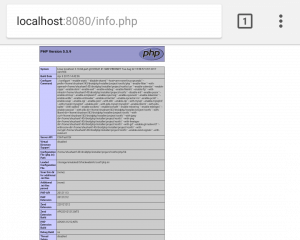
- Now check whether service is running or not by typing default URL http://localhost:8080 in your browser

- If your browser shows above screen then it means server is running perfectly
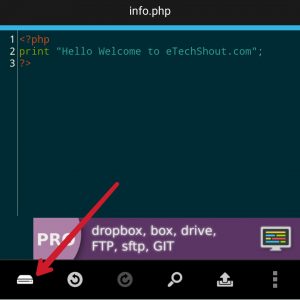
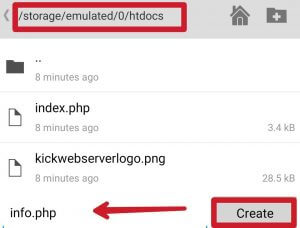
- Now just open DroidEdit app and type your code
- Save it in the local path sdcard/htdocs folder with a filename.extension
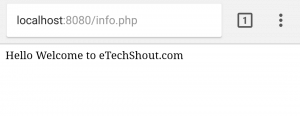
- After saving in above path, now open browser again
- Type http://localhost:8080/filename.extension to test it.

- Enjoy!

Also Read: – How To Lock Or Unlock Your PC Using USB Flash Drive?
Note : – (For Palapa Web Server)
# Default Document Root (htdocs)
– Path : /sdcard/pws/www/
# Default URL
– Address : http://127.0.0.1:8080
# Web Admin Informations
– Address : http://127.0.0.1:9999
– Username : admin
– Password : admin
# MySQL Informations
– Host : localhost (127.0.0.1)
– Port : 3306
– Username : root
– Password : adminadmin (if not working, try to reset MySQL user table from Database Settings page)
Note : – (For KickWeb Server)
# Default Document Root (htdocs)
– Path : /sdcard/htdocs/
# Default URL
– Address : localhost:8080
# phpMyAdmin Informations
– Address : localhost:10000
– Username : root
– Password :
# MySQL Informations
– Host : localhost
– Port : 3306
– Username : root
– Password :
Conclusion –
So these are the two methods to create your own server on Android device. I hope it will help students and learners to work anytime and anywhere with a smartphone. Do share with your friends and keep visiting us:)