Are you tired of the frustration when your Nanit keeps disconnecting at the most inconvenient times? Well, believe me, there’s a fix for that. Here are some tips on how we can put an end to those constant Nanit connection issues and continue monitoring without interruptions.
How to Fix Nanit Camera Keeps Disconnecting
Check Wi-Fi Connection

When the Nanit camera experiences disconnections, it’s often due to fluctuations in the Wi-Fi signal strength or unstable network conditions.
So, verify that the camera is within the optimal range of your Wi-Fi router. If it’s too far away, the signal might be weak, causing the connection to drop. If necessary, adjust the camera’s placement for better signal reception.
Also, minimize potential sources of interference, such as other electronic devices or physical barriers like walls. These can lead to connectivity issues on the Nanit camera.
Update the Nanit Mobile App
Keeping your Nanit app (Android/iOS) up-to-date is crucial to addressing the persistent issue of your Nanit camera disconnecting.
In regular app updates, you’ll often find bug fixes, performance improvements, and enhancements that can directly impact the stability and functionality of your camera’s connection.
In addition to fixing connectivity issues, app updates ensure compatibility with camera firmware updates, optimize performance for smoother interaction with Wi-Fi networks, and provide the latest security features, so that monitoring experiences are more secure and stable.
Close and Relaunch the App
Closing and reopening the Nanit app will resolve the issue with the camera disconnecting. It helps to clear any issues that might be causing the camera to lose connection.
On Android devices, you can close the app by tapping the app drawer button and then swiping away the Nanit app screen (usually left or right). On iOS devices, double-click the home button to see your open apps, then find the Nanit app screen and swipe it up to close it.
Restart Nanit Camera
Restarting your Nanit camera is crucial to resolve the persistent issue of disconnections. By doing so, you allow Nanit to reset its connection with your Wi-Fi network, resolving any communication errors that may have occurred temporarily.
It not only reestablishes smooth communication but also clears the camera’s memory and activates protocols that enhance stability.
Here’s how you can restart your Nanit camera:
- Take out the plug from Nanit’s power charger that’s connected to the wall, or gently disconnect the Nanit camera from its stand.
- Wait for about 10 seconds before you put the plug back into the wall or reconnect the Nanit camera.
- You’ll see the Night Light on Nanit blinking for a little while – that means it’s getting connected again.
- Once the Night Light on Nanit stops blinking, open the Nanit app and check. Hopefully, your Nanit camera’s frequent disconnection issue is resolved now.
Restart your Router and Modem
 Restarting your router and modem is another effective way to solve the problem of your Nanit camera disconnecting.
Restarting clears any network glitches, ensures a fresh connection, and allocates resources effectively. This helps overcome potential interference issues and resolves conflicts that might lead to disconnections. Additionally, it’s a routine maintenance step that ensures optimal router and modem performance.
To restart them, unplug both the router and modem, wait for about 10-15 seconds, and then plug them back in. After they fully restart and stabilize, check if your Nanit camera’s connection improves.
Switch Between 2.4GHz and 5GHz
In most modern routers, you can broadcast both 2.4GHz and 5GHz networks. In some cases, depending on where the Nanit is located, a particular network may offer a more reliable connection.
So, you can switch between both networks if both are available, check to see if Nanit’s connectivity improves by switching between them.
For the original Nanit camera, choose the 2.4GHz network for improved performance. Before you begin pairing, make sure your phone is connected to the 2.4GHz network.
For Nanit Plus and Pro cameras, use the 5GHz network for the best performance. Before starting the pairing process, ensure your phone is connected to the 5GHz network. This helps your camera work really well.
To switch Wi-Fi bands:
- Open the Nanit app
- Choose the camera you want to use.
- Go to your camera’s settings.
- Tap on ‘Network‘.
- Look for ‘Dual Band Networks‘
- Now, select ‘Wi-Fi Band‘.
Change Your Bandwidth Settings
If you’re facing slow video, lots of disconnects, using too much data, or video that keeps buffering, you can make things better by changing how Nanit uses your network.
When you make this change, it optimizes the data flow, which directly impacts the stability of the connection. With this tweak, you can prevent issues like Nanit constantly disconnecting, ensuring a smoother and more dependable monitoring experience overall.
Follow these steps to change bandwidth settings on Nanit.
- Open your Nanit app.
- Tap on ‘Settings‘.
- Choose your baby’s name.
- Click on ‘Network‘.
- Slide the bandwidth usage to “Low“.
Adjusting this setting will lower the video quality, but it will improve network problems and make your video streaming experience better overall.
Ensure that your Router is Close to Nanit
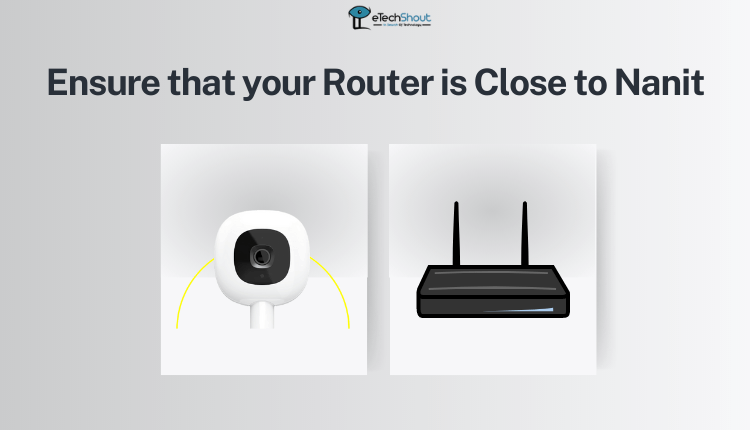
 When Nanit and the router are too far apart, the Wi-Fi signal can weaken, leading to frequent disconnects. By moving them closer together, you strengthen the signal and establish a more reliable connection. This ensures that Nanit can consistently communicate with the network, reducing disruptions in the monitoring experience.
Install a Wi-Fi Repeater
 When Nanit and your Wi-Fi router are far away from each other, they can suffer from weak signals, leading to disruptions in communication.
By placing a Wi-Fi repeater in between, you amplify and extend the network signal, ensuring a stronger connection to Nanit. By using the Wi-Fi repeater, it is possible to overcome the distance challenge and maintain a stable connection between the camera and your network.
Consequently, the Wi-Fi repeater enhances the overall coverage and reliability of your Wi-Fi network, allowing Nanit to consistently transmit data without frequent disconnects. This solution effectively resolves the Nanit keeps disconnecting problem by mitigating the impact of distance on the network signal strength.
Third-Party SSL Certificate Issues
Users may experience connectivity issues with their Nanit cameras due to third-party SSL certificate problems. The SSL certificate used by Nanit’s server does not establish a secure connection to the cameras. As a result, users are unable to access their camera feeds and related services.
Along with the connectivity issues, users may not be able to access Nanit Insights data during this service disruption. The ongoing issue with the SSL certificate has led to difficulties in data transmission and synchronization between Nanit cameras and the server, leading to potential gaps in Insights data.
You can find all the details on this Nanit System Status page. You can visit the page directly to know the current status of the Nanit network to identify whether Nanit is down or not.
There is nothing you can do about system outages or third-party SSL certificate issues except wait until Nanit fixes it officially.
Contact Nanit
 Contacting the Nanit support team is the final way of resolving the persistent Nanit camera keeps disconnecting problem. Their support team can provide you with tailored assistance based on your camera model and network setup.
Whether it’s hardware issues, or software-related issues, contacting Nanit support is important as well as an easy way to clear your mind. They will help you identify and rectify the issue of the Nanit camera keeps disconnecting for sure.
RELATED GUIDES: –
So, there you have it—no more guessing why your Nanit keeps disconnecting. With these practical solutions, you’re equipped to reclaim seamless monitoring.


